Ready to give your characters a surprise cameo? Follow along and you’ll go from “wait, whose face is that?” to shareable mashups in just a few clicks. 😎
What You Need 🎒
- Source image — the faces you want to borrow.
- Target image — the faces you want to overwrite.
- Five faces max in each image. If you spot more than five, trim the shot before uploading.
How Matching Works 🤝
We auto-match faces from left → right, top → bottom between your source and target. Want to take control? Drag the little numbered badges on the target preview to remap any pairings.
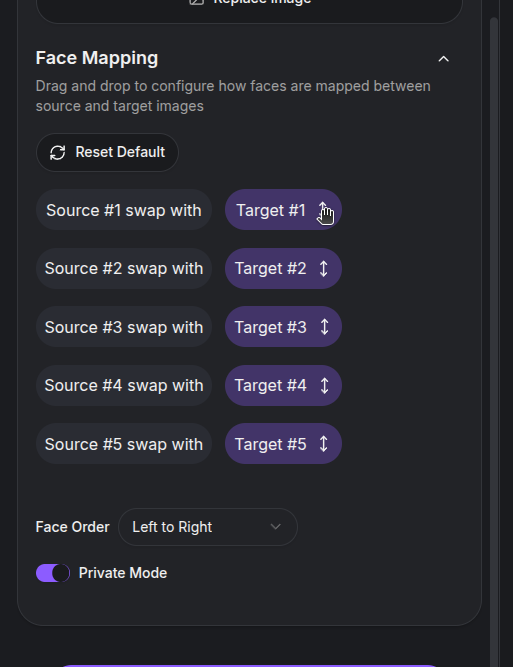
Follow-Along Example 🎬
Want to test-drive without hunting for assets? Download the two images below so we’re on the same page.
Source face:

Target crew:
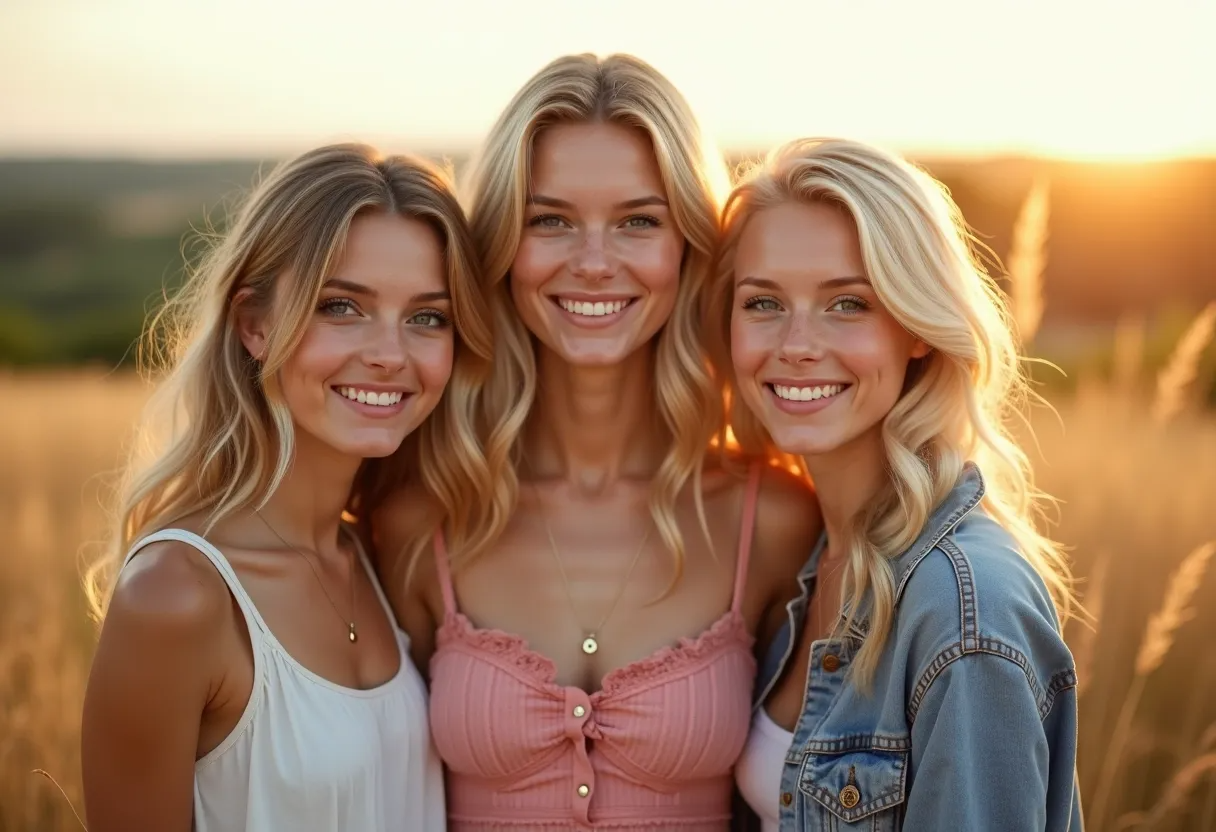
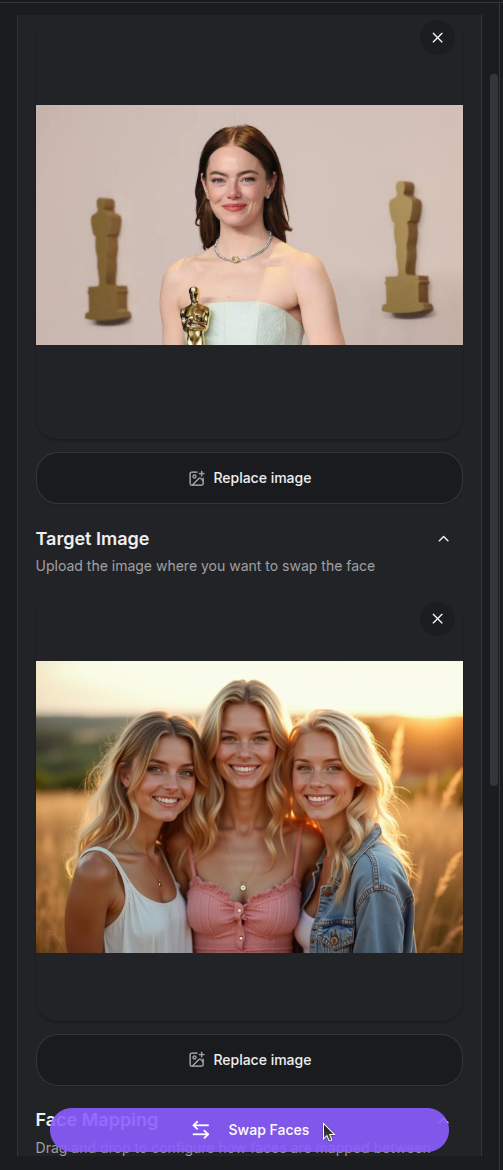
Drop them into the tool and you’ll see the default layout:
Now swap Source #1 into each target slot and watch the faces change:
- Target #1:
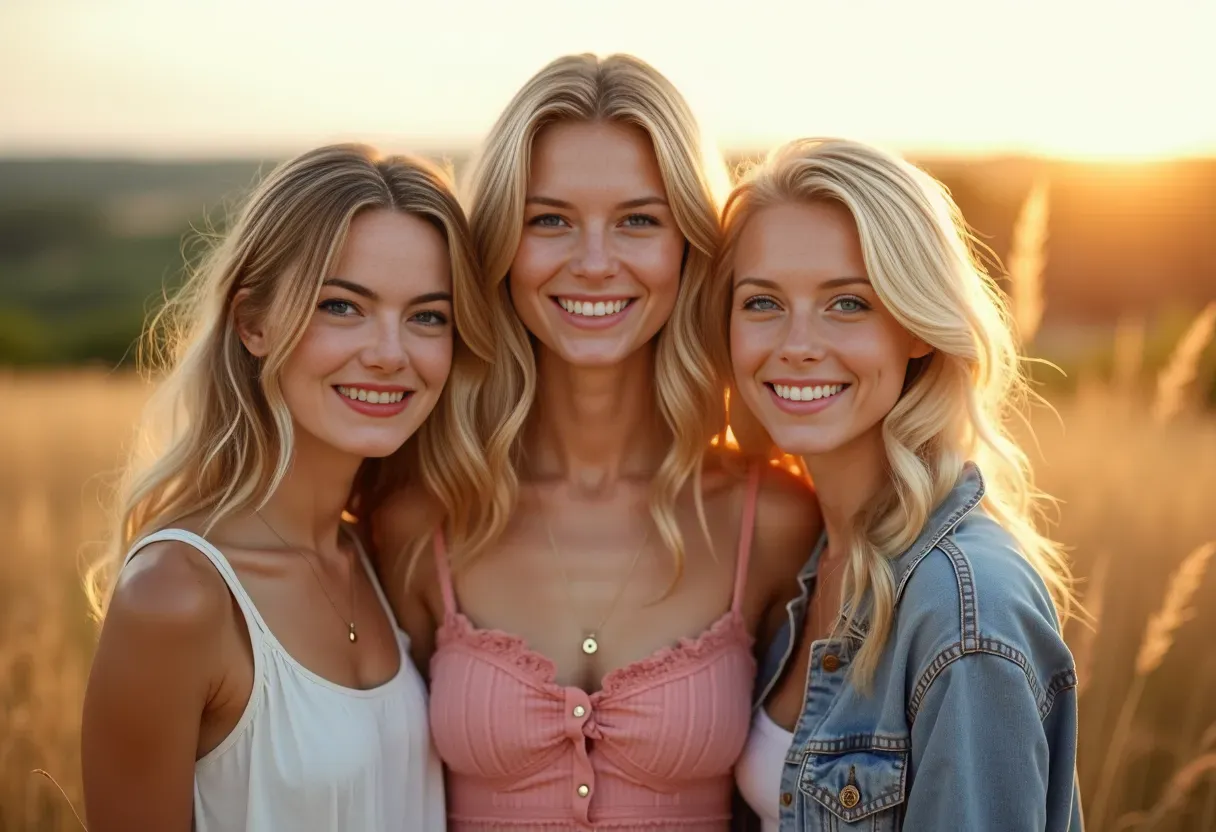
- Target #2:
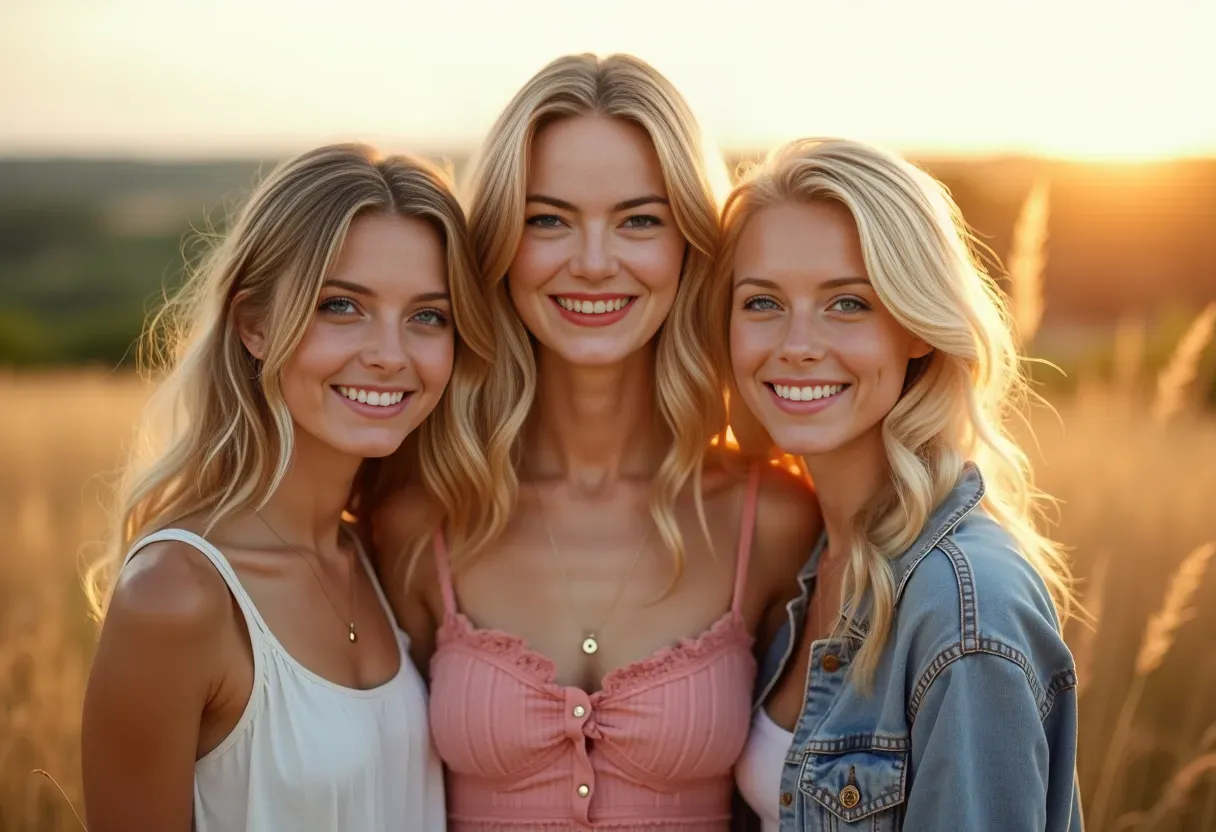
- Target #3:
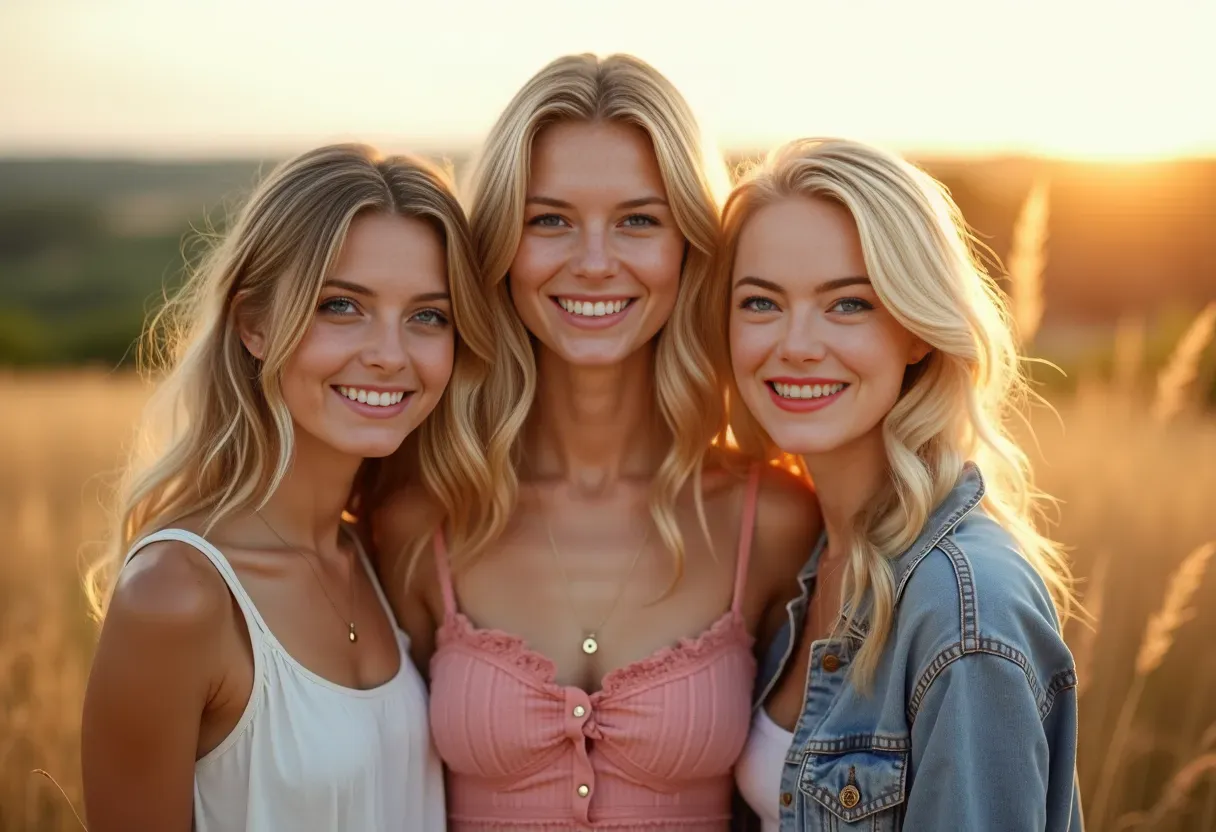
Each swap respects the target’s pose and lighting, so experiment with different pairings until the expression lands.
Tips For Cleaner Swaps 🧼
- Keep faces clear. Avoid heavy shadows, sunglasses, or hair blocking the eyes.
- Match lighting. Photos shot in similar lighting blend way better.
- Scale matters. If one face is tiny and the other is close-up, resize the images before swapping.
- Try multiple targets. Drag the badges to test new combos without re-uploading.
Give it a spin and let your characters crash each other’s photos. If anything looks off, tweak the mapping or try a different source—iteration is the secret sauce. ✨
Alternative: Generative Head Swap With Magic Edit ✨
If the standard Face Swap tool does not give you the look you want, try a generative head swap with the Magic Edit tool and a compatible BFS (Best Face Swap) LoRA. This workflow can transfer the whole head—including hair and facial details—while asking the model to blend it into the target pose, lighting, and body.
DopamineGirl supports these BFS choices in Magic Edit:
| Magic Edit model | Face-swap LoRA to select | Images |
|---|---|---|
| Qwen Image | BFS Head V5 – 2511 (recommended) | Add the target/body as Reference 1, then the donor face/head as Reference 2. Magic Edit automatically combines the references left to right into one guide image. |
| Flux2 Klein 9B | BFS Head V1/V2 – Flux 2 Klein 9B (recommended) | Add the target/body as Reference 1, then the donor face/head as Reference 2. |
The BFS repository also lists Flux 2 Klein 4B, Krea 2, and older Qwen variants, but those versions are not supported by this DopamineGirl workflow. See the BFS model page on Hugging Face for the upstream model details and examples.
How to use it
- Open Magic Edit.
- Select Qwen Image or Flux2 Klein 9B as the model.
- Open LoRA, choose the matching BFS face-swap LoRA from the library, and keep its default weight for your first attempt.
- Add the image or ordered references shown in the table above. The first subject is the target whose body, pose, lighting, and background should remain; the second subject supplies the new face and head.
- Paste the matching example prompt below into Edit Prompt, then adjust the identity, expression, or blending instructions for your images.
- Select Edit Image. If the result changes too much, strengthen the instructions about what must stay unchanged or try clearer, better-aligned source images.
Example prompt for Qwen Image
Add the target/body as Reference 1 and the donor face/head as Reference 2. Qwen Image accepts up to three references, combines them left to right, and uses the first reference for the output size. For this two-image example, the target/body is on the left and the donor face/head is on the right. You can also upload an already combined guide as a single reference:
head_swap: Keep the person on the left as the base, including their body, pose, expression, lighting, clothes, and background. Replace only their head with the head of the person on the right. Preserve the right person's identity, hair, eyes, nose, mouth, and skin texture. Match the original head angle and blend the skin tone, shadows, neck, and proportions naturally.
Example prompt for Flux2 Klein 9B
Use this after adding the target/body as Reference 1 and the donor face/head as Reference 2:
head_swap: Use Reference 1 as the base and keep its body, pose, expression, lighting, clothes, and background. Replace its head with the head from Reference 2. Preserve the identity, hair, eyes, nose, mouth, and skin texture from Reference 2. Match the head angle from Reference 1 and blend the skin tone, shadows, neck, and anatomical proportions naturally. Produce a sharp, detailed result.
Use images of yourself or people who have given you permission. Do not use this workflow to impersonate public figures or non-consenting individuals.
FaceSwap Video 🎞️
Want to take the swap beyond stills? The video tool slices your clip into individual frames, runs the face swap on each one, then stitches everything back together so you get a finished video.
- Launch the FaceSwap Video Tool ↗
- Keep clips at or below 1000 frames. The tool validates and extracts the frames before the job enters the worker queue.
- Face ordering and drag-and-drop mapping work the same way as the still-image tool, with up to five mapped faces.
- Processing costs $0.002 per frame (20 credits per frame). The waiting card reports swapped frames out of the total, starting at
0 / total. - After every frame is swapped, the frames are encoded into an MP4 and the original audio is preserved when the source audio codec can be copied. If direct copying is not compatible, the audio is re-encoded to AAC.
FaceSwap Video is an idle-only worker task, so normal image, video, and other generation work is assigned first. For best results, trim your footage so the subject stays framed similarly throughout. That keeps the per-frame swaps tight and makes the final render feel natural.